Step 1: Connect to Starlink WiFi for Diagnostics
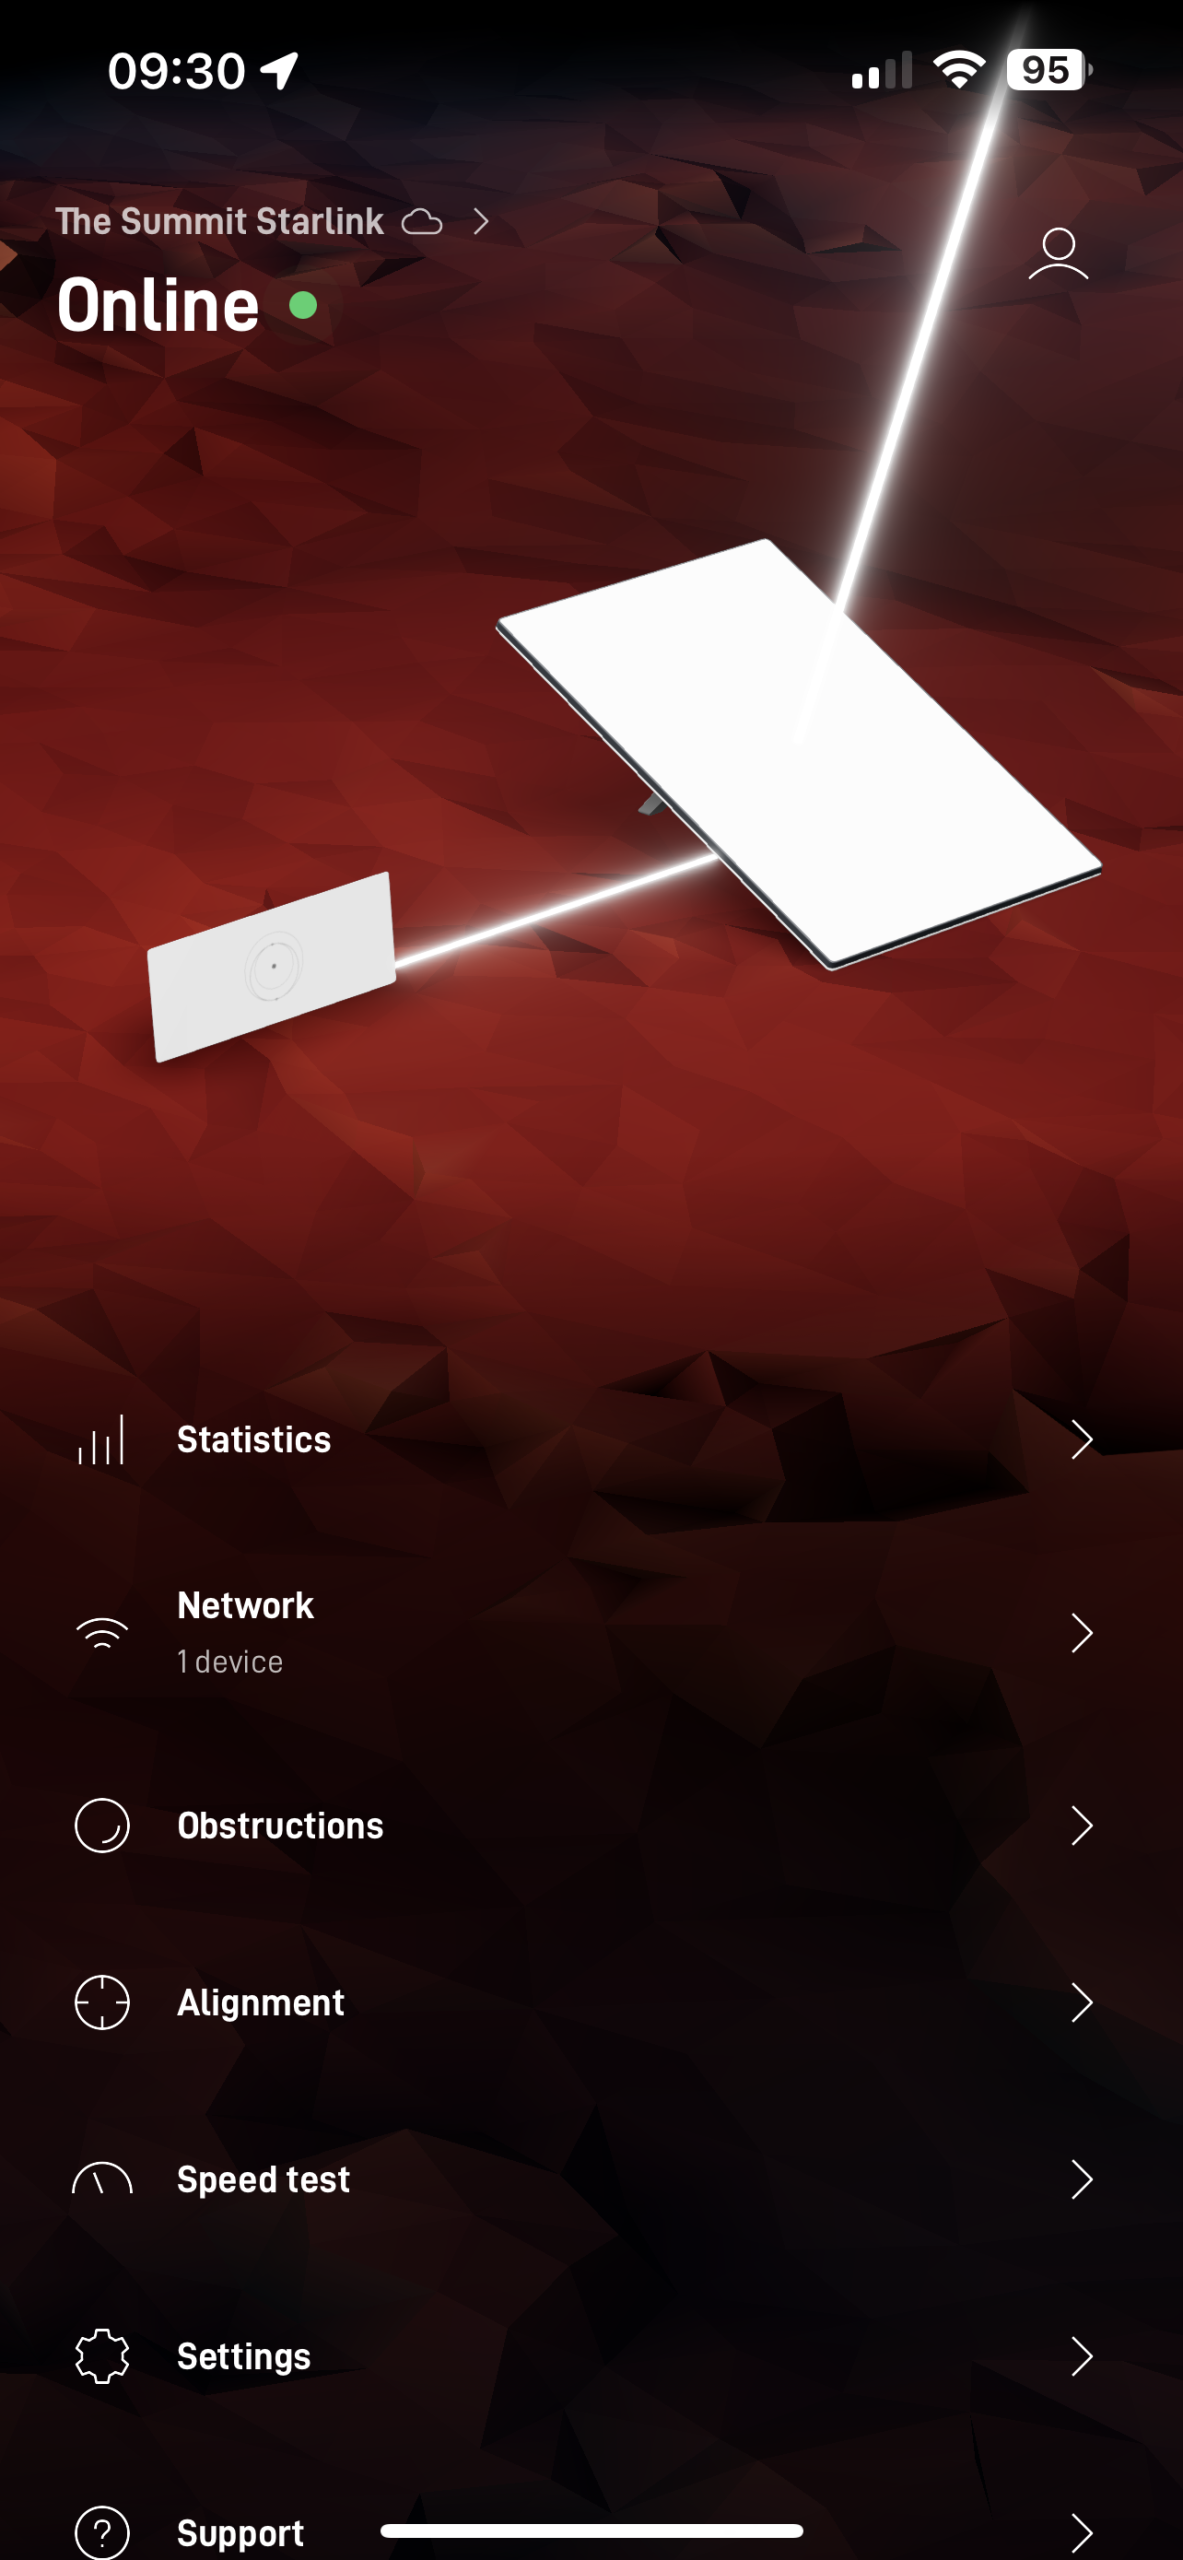
For accurate diagnostics, begin by connecting directly to your Starlink WiFi network using the Starlink app. This is essential to access the diagnostic tools and review your connection status.
Note: If you’re using a third-party router, it may not provide direct access to the Starlink router for diagnostics. In this case, temporarily switch your connection to Starlink’s WiFi.
Once connected, open the Starlink app and check the current status of your connection to determine whether Starlink is online or offline.
If you’re unable to find the Starlink WiFi network:
- Ensure that the Starlink router has power. Check the power supply and any connected surge protectors.
- If your Starlink router lost power recently and you don’t have an Uninterruptible Power Supply (UPS), wait 5 to 10 minutes for the router to reboot and the WiFi network to become visible again.
Step 2: Review Starlink Statistics for Connectivity Issues
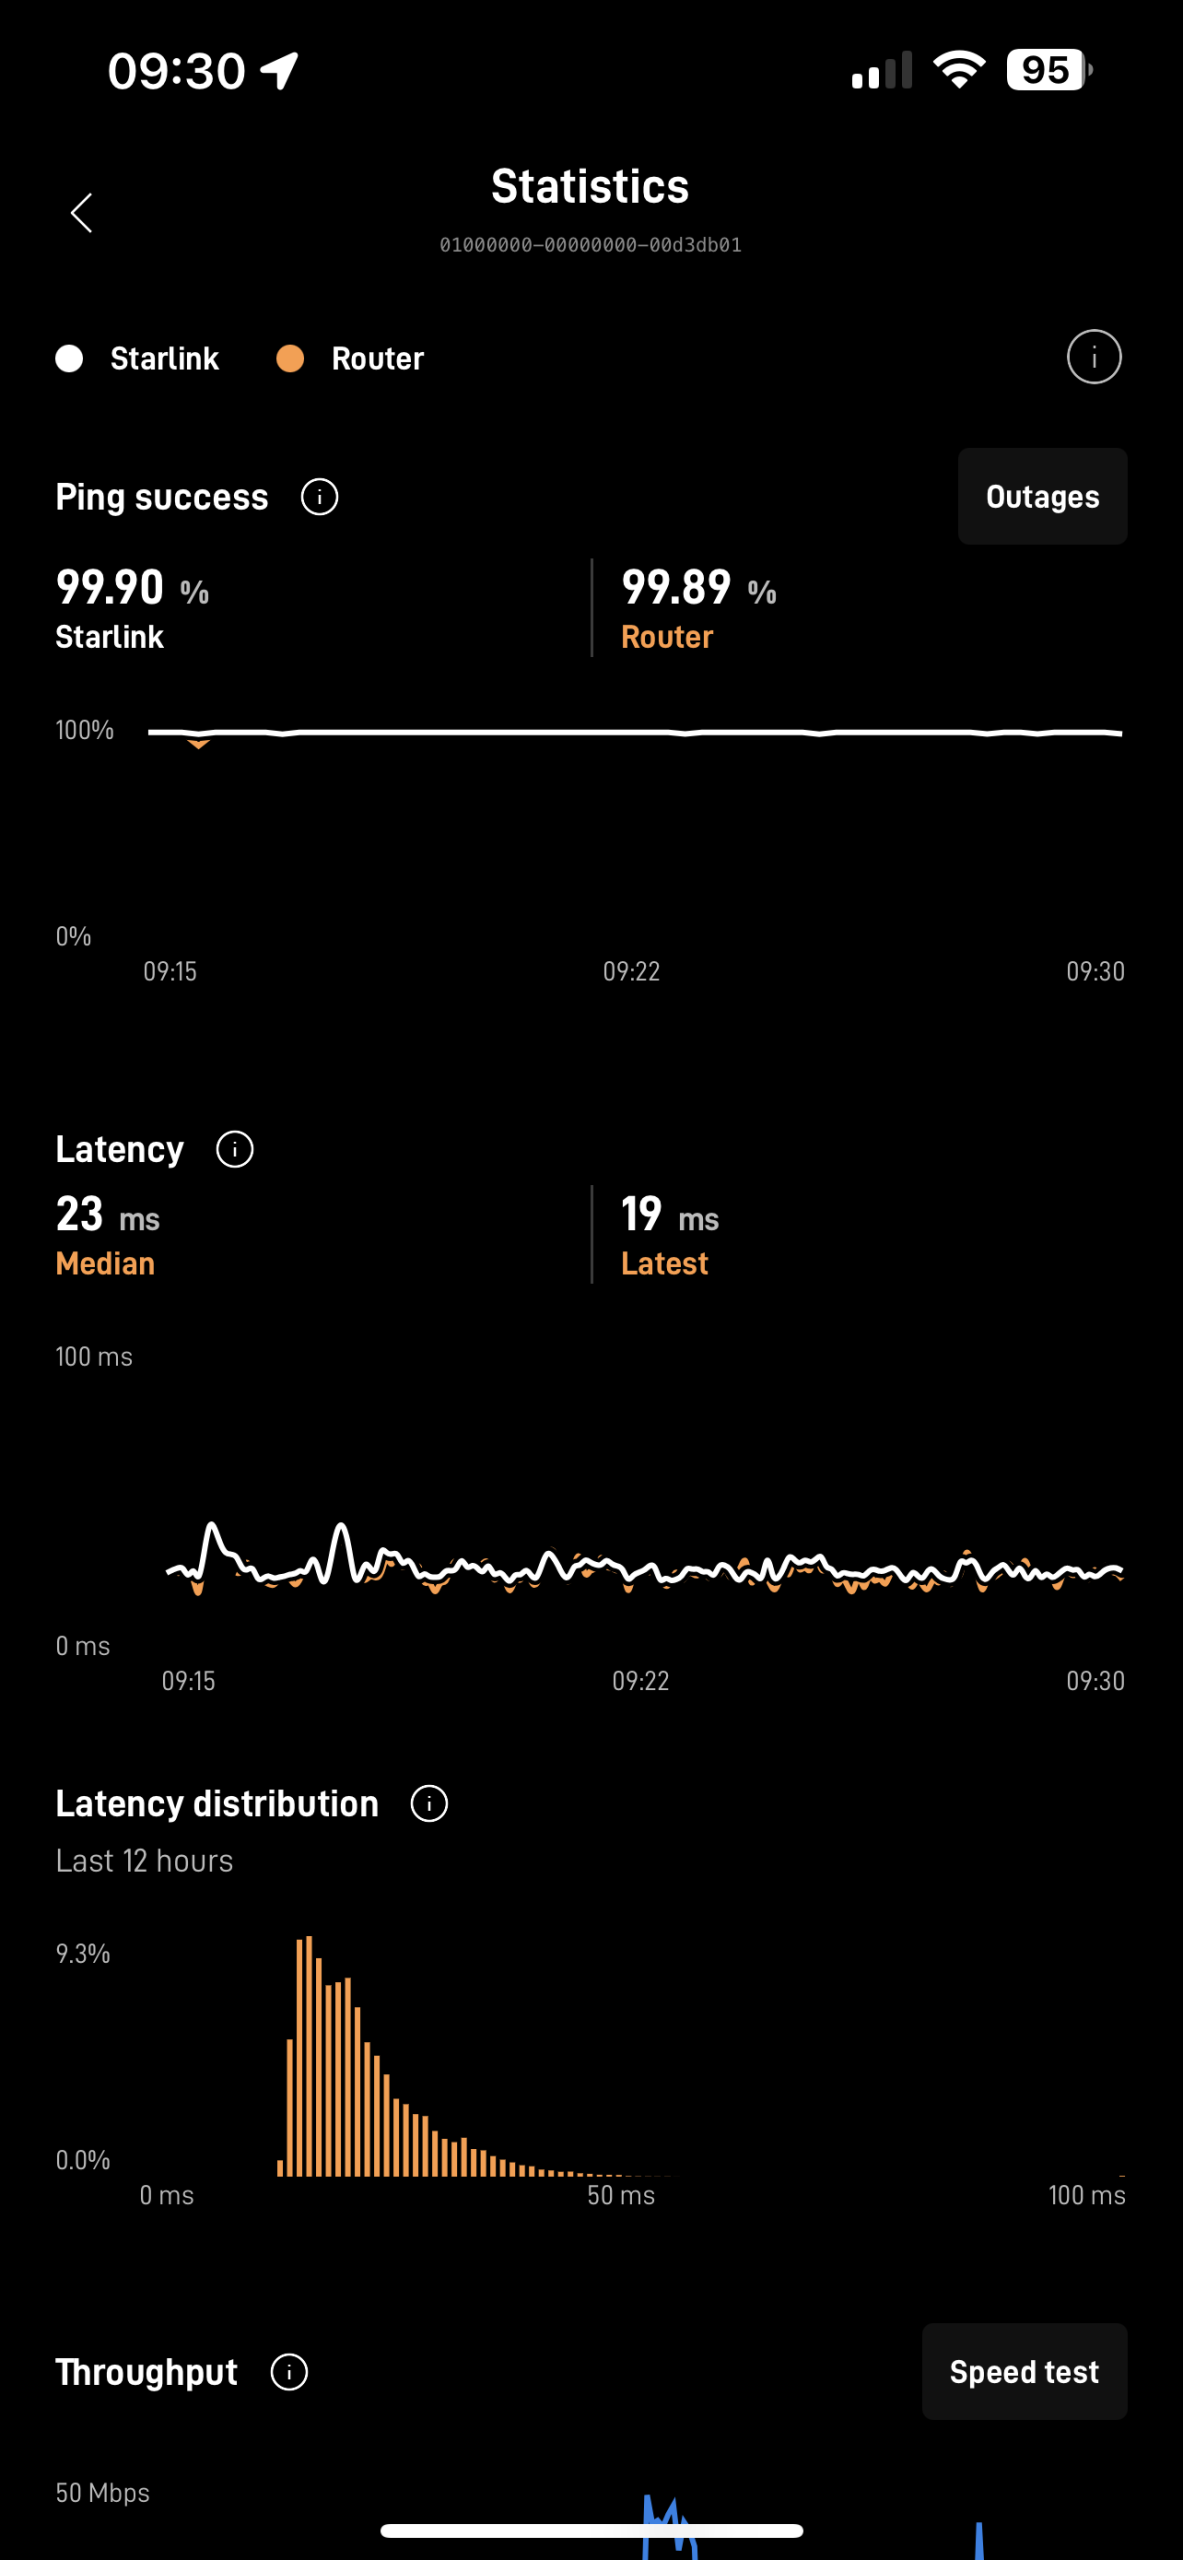
After verifying the connection and suspecting an issue with your Starlink service, navigate to the “Statistics” section of the Starlink app. Here, you can view details about any recent outages or downtime affecting your system or the Starlink network itself.
Check for any irregular patterns or extended periods of downtime that could indicate a service interruption or hardware issue.
If no clear issues are shown in the statistics, proceed to Step 3 for further diagnostics.
Step 3: Reboot Starlink Hardware
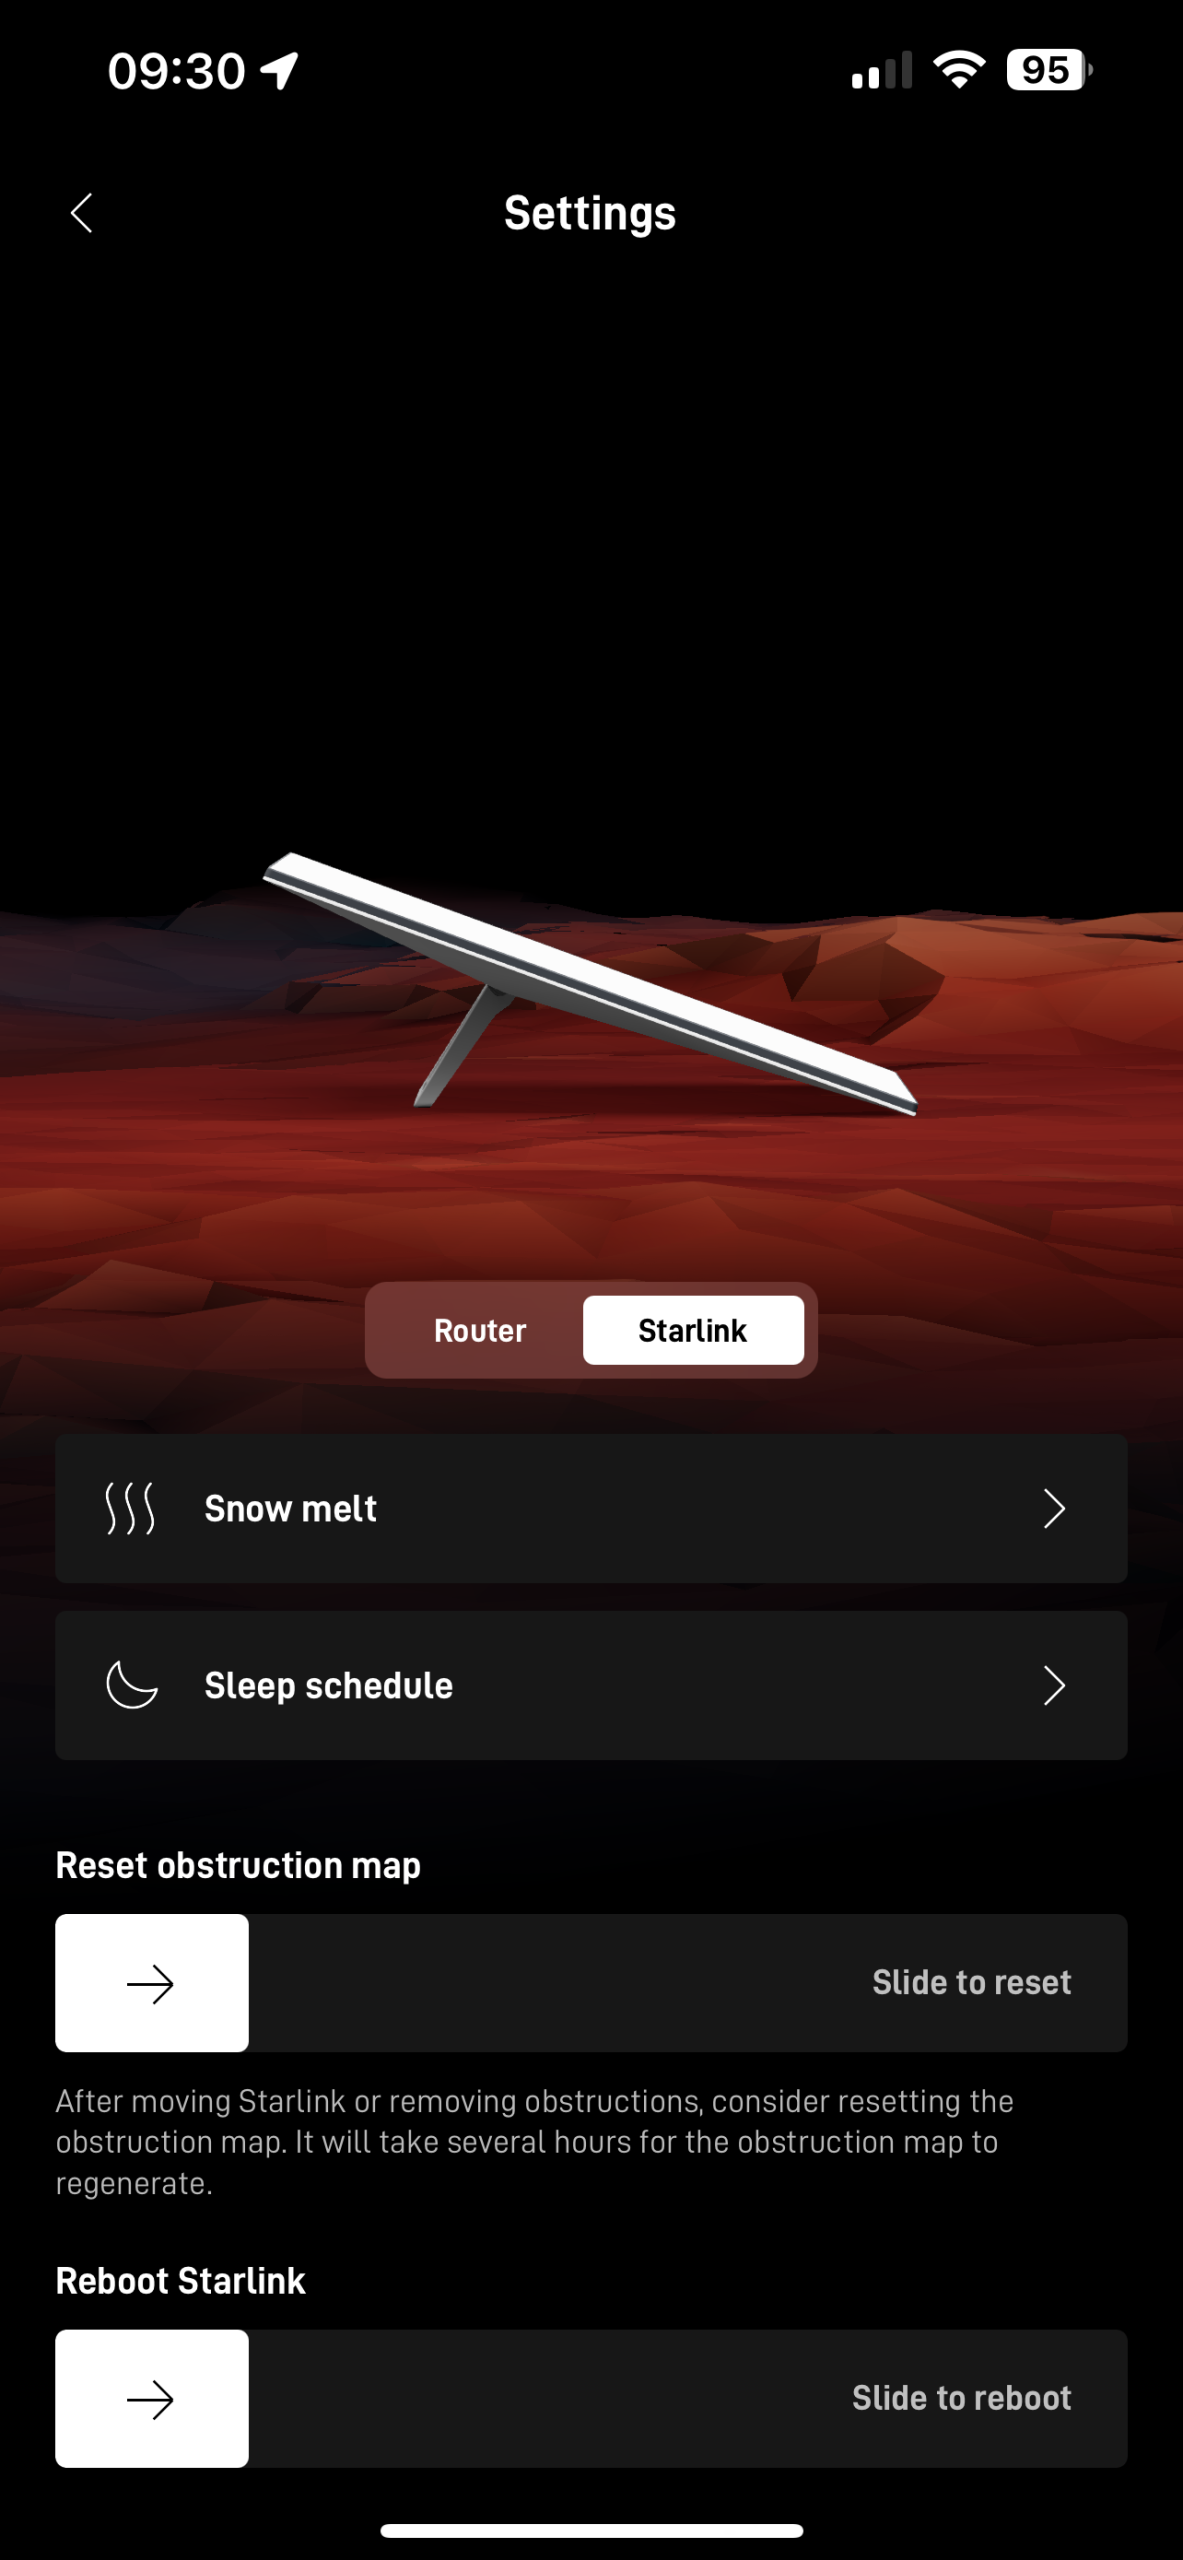
If no issues are evident in the “Statistics” section and everything appears stable, the next step is to perform a hardware reboot via the Starlink app.
We recommend rebooting the Starlink dish (the dish itself) before attempting to reboot the router. This allows the core satellite connection to reset, which often resolves connectivity problems.
If rebooting the dish does not fix the issue, proceed with a router reboot.
After each reboot, wait 3 to 5 minutes for the hardware to fully restart and reestablish a satellite connection.
Step 4: Check Physical Setup and Connections
If rebooting the Starlink dish and router hasn’t resolved the issue, the next step is to inspect the physical setup. Safety Note: Only perform these checks if it is safe to do so. Avoid climbing onto the roof or into your roof space if it presents any safety risks. If you need assistance with this, please contact us.
- Check all cable connections: Ensure that all cables are securely connected to both the Starlink dish and router. Inspect the cables for any signs of damage or wear, as a loose or damaged connection could interrupt your service.
- Dish placement: Confirm that your Starlink dish has a clear, unobstructed view of the sky. Objects like trees, buildings, or severe weather conditions (heavy snow or ice) may block the satellite signal. Use the app’s visibility feature to check that the dish is properly aligned.
- Weather conditions: Heavy rain, snow, or strong winds may temporarily affect your Starlink service. In such cases, service should resume automatically once the weather improves.
- Cable quality: Check the Ethernet and power cables for signs of wear or damage, which may occur due to wildlife (such as birds) or environmental exposure.
Once you’ve confirmed that everything is physically in order, and the issue persists, proceed to Step 5.


